Discover the Story Behind Hoopis Pickleball
What transforms a successful financial planner’s life into a quest for the perfect pickleball experience? Dive into the remarkable journey of Hoopis Pickleball – where a passion for the great outdoors meets the thrilling world of pickleball. From scaling mountain peaks to mastering the pickleball court, our story is more than just a company history; it’s a testament to the power of following your passion. Uncover the inspiration, the challenges, and the innovations that make Hoopis Pickleball not just a brand, but a community.
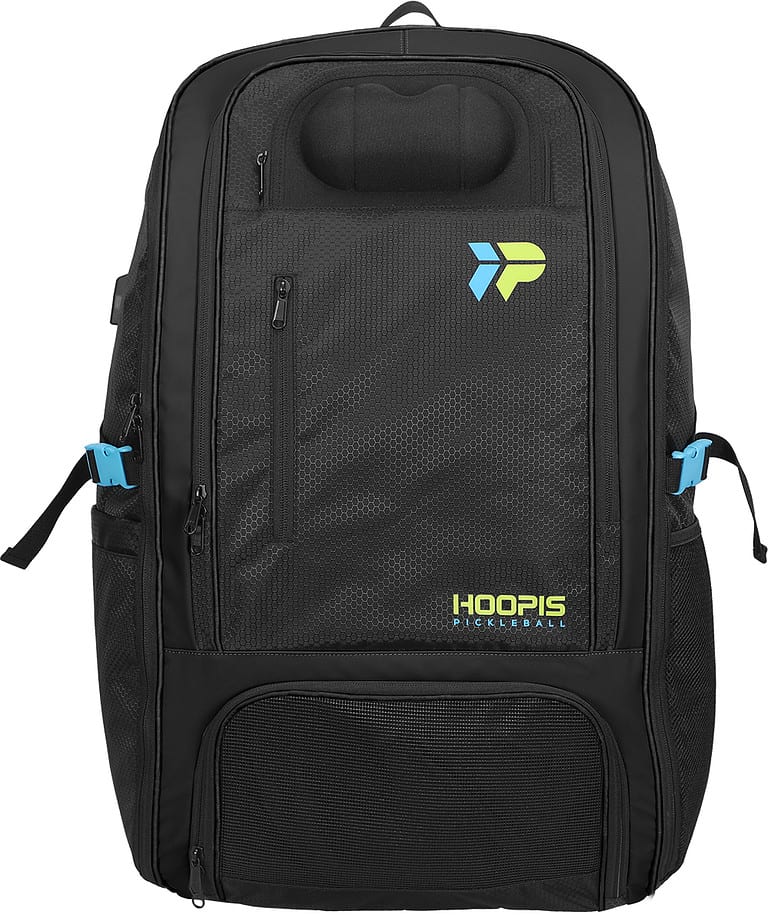
Check out our newest gear!
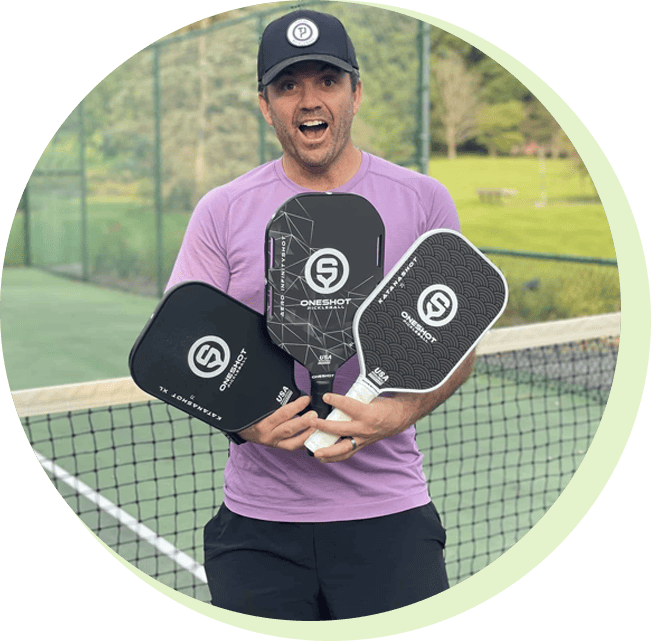
…or as some would say, Pickleball Pete.
I’ve been gripped by the passion for pickleball, and I’ve made it my mission to share the joy and excitement of this incredible sport with you. Whether you’re new to pickleball or a seasoned player looking for that extra edge, you’ve come to the right place.
Here at Hoopis Pickleball, we’re all about serving up the best of the pickleball world. From top-quality gear recommendations to expert tips and strategies, we’re here to help you reach your pickleball goals and take your game to the next level.
So, grab your paddle, join our community, and let’s dive into the world of pickleball together. Explore our resources, gear reviews, and engaging blog articles, and get ready to experience pickleball like never before.
Welcome to Hoopis Pickleball, where the game is always on, and the fun never stops. Let’s play!
Sign up to receive our weekly Newsletter!